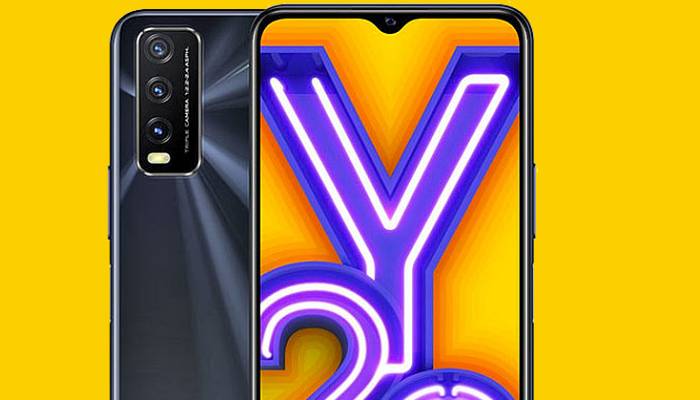
5 Vivo Y20 Camera Settings to Improve Your Photos
Are you a Vivo Y20 user but confused about how to set the camera on this phone? The camera from Vivo does not disappoint because it is able to provide bokeh and HD results for its users. It’s just that there are still many who don’t know about the important settings applied on your smartphone.
In terms of camera, this king of entry-level smartphones deserves more thumbs up. The reason is, the vendor applies a triple rear camera with the support of various features. Such as face beauty, portrait light effect, to selfie filters that support the shots to be more interesting.
In addition, the photos produced by the Vivo Y20 camera will also look more natural because the rear camera resolution has 13 MP with PDAF features, 2 MP for bokeh effect, and 2 MP super macro camera.
Meanwhile, on the front of the phone is an 8 MP resolution camera that can be used to take selfies with friends. Supported by large internal storage, photographing everything can be more fun.
How to Set Vivo Y20 Camera
Contents
How do you set the correct Vivo Y20 camera settings? So you’re not curious, check the explanation below:
1. Pro Mode
The first way that can be done for Vivo Y20 camera settings is to utilize Pro mode. This Pro mode will make your photos more precise and won’t be skewed and even look more professional. It will be a suitable choice for those whose hands like to shake when holding the camera.
This is because in pro mode there is a leveler that functions to detect tilt and position. To be able to activate this feature you only need to tap the small icon in the upper left corner. Later you will get a notification to tilt to the right or left.
2. Wide Angle
The second way that can be done for Vivo Y20 camera settings is to utilize the Wide Angle feature. Usually this feature will really help to get a wider object so that it still enters your camera. Some examples are countryside, grasslands and cities.
The way to set it up is really easy, you just need to go to the camera and activate the portrait feature. Also, a quick way is to press the white button in the bottom right corner of the camera screen.
3. Super Macro
The third setting method of the Vivo Y20 camera is to utilize the Super Macro feature. This one camera has a focus of about 4 cm so that it can shoot even small objects in a clear state. For example, it is suitable for shooting raindrops, dew, insects or other small animals.
It’s just that when using this feature you can’t get closer than 4 cm because then the camera will become blurry. Of course, it makes your shots not bokeh.
4. Bokeh Shot
The fourth Vivo Y20 camera setting that is no less interesting to try is the bokeh shot. You need to know that the Vivo Y20 is equipped with an impressive bokeh effect even though not many people realize it. This effect can only be used for the rear camera.
The way to set it up is to switch to portrait mode then select a white lens and you need to select a Bokeh Shot. That way the camera will automatically provide settings that you can adjust to the desired bokeh.
5. Square shot
You love uploading photos on social media but are afraid that the size will be cut off or there are other objects that can’t enter? You don’t need to worry because Vivo Y20 has a square shot feature which allows the shots you make to fit immediately when uploaded, especially on Instagram.
With the square mode, it won’t reduce the resolution due to the cropping process and make it more practical for you to stay present on social media.
Interested in trying out this unique Vivo Y20 camera? Do not apply the tips that JellyDroid has shared above. In addition, you can also use the Google Camera Mod or Gcam that we have shared in previous posts.

